If your computer slows down, you can defragment HDD to make it faster than before, especially by De-fragmenting system drive. The process to defragment in Windows 8, 7 , XP or in Win 10 is quite simple. This tutorial is for the optical hard disk, SSD (Solid State Drive) & flash drives don’t need this treatment.
Defragment Hard Disk Drive in Windows
It is a bit time consuming process, so we recommend you to perform it at least on System drive (Windows installation drive). Not just Internal Hard Drive but you can also defragment external Portable HDD by connecting it to the computer via USB .
To defragment in Windows first Open “My Computer”, select the drive you want defragment and right click on it, click on “Properties”. After clicking a new small window will pop up on the screen, from there click on “Tools” tab and now click on “Defragment now”. Follow the process and wait for the process to be completed.
Steps to defragment hard disk in windows:
- Open My Computer or Windows Explorer
- Right click on the Internal or External Drive and Select “Properties”
- From the newly opened window select “Tools” tab
- Click on “Defragment now”
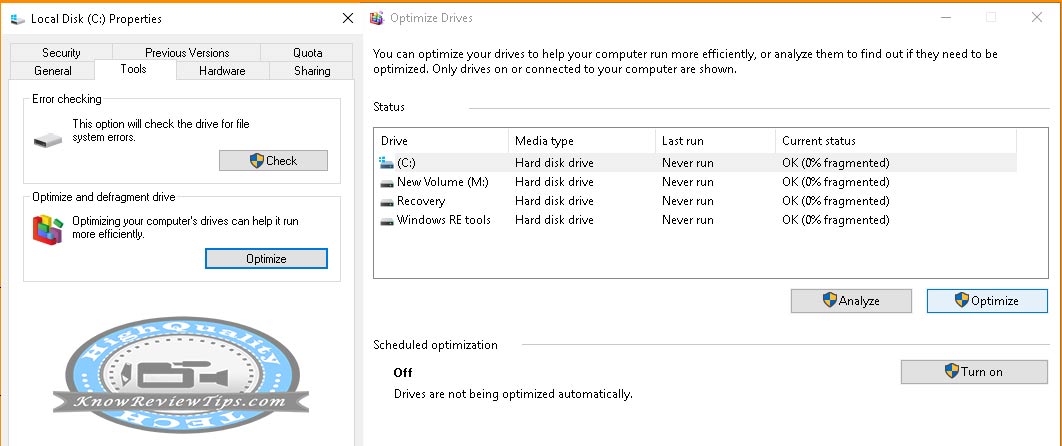
- Now window name “Disk Defragmenter” will open up
- Select the Drive and Click on Defragment Disk or Optimize (in Windows 10)
- Now wait for the process to be complete
To turn on Scheduled or let windows optimize drive automatically Turn on the “Scheduled Optimization” to ON (see the steps in above image). In the mean time, know how to optimize the system performance by disabling the Visual Effects in Windows.