Taking screenshots is a necessity nowadays. So, today we will learn how to take a screenshot on Windows laptop or desktop. Microsoft Windows is the most popular operating system in the world. Taking screenshots on windows computer is a little bit complex and easy as well if you know the right method. In windows PC there are two methods to take screenshots.
- Why screenshots are necessary?
- How to take a screenshot on Windows PC (laptop or desktop)
- Take a Screenshot on Windows 10, 8, 7
- Take a Screen Shots on Windows 7 without snipping tool
Why screenshots are necessary?
- for the presentation of your work or project
- for office use
- for personal use such as saving memes
- for taking notes
- capture screenshot when the image is not available for download
How to take a screenshot on Windows PC (laptop or desktop)
Taking a screenshot is really a very easy task, no matter which windows operating system you are using or whether you are performing it on a Laptop or desktop. There are several software and application available online to capture Screenshot, but you can also take screenshot without them. The method will work in Windows XP, Vista, Windows7, RT , Windows 8.1, Windows 10 + and will even work on Linux.
Take a Screenshot on Windows 10, 8, 7
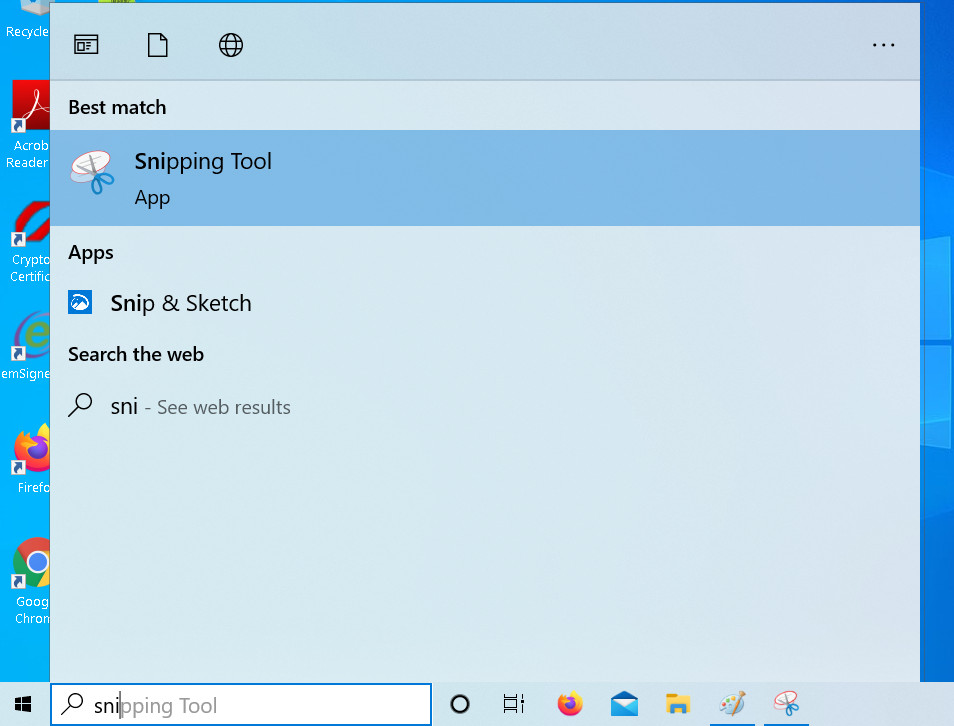
- Go to the Start menu, then All Programs, Accessories, and choose Snipping tool.
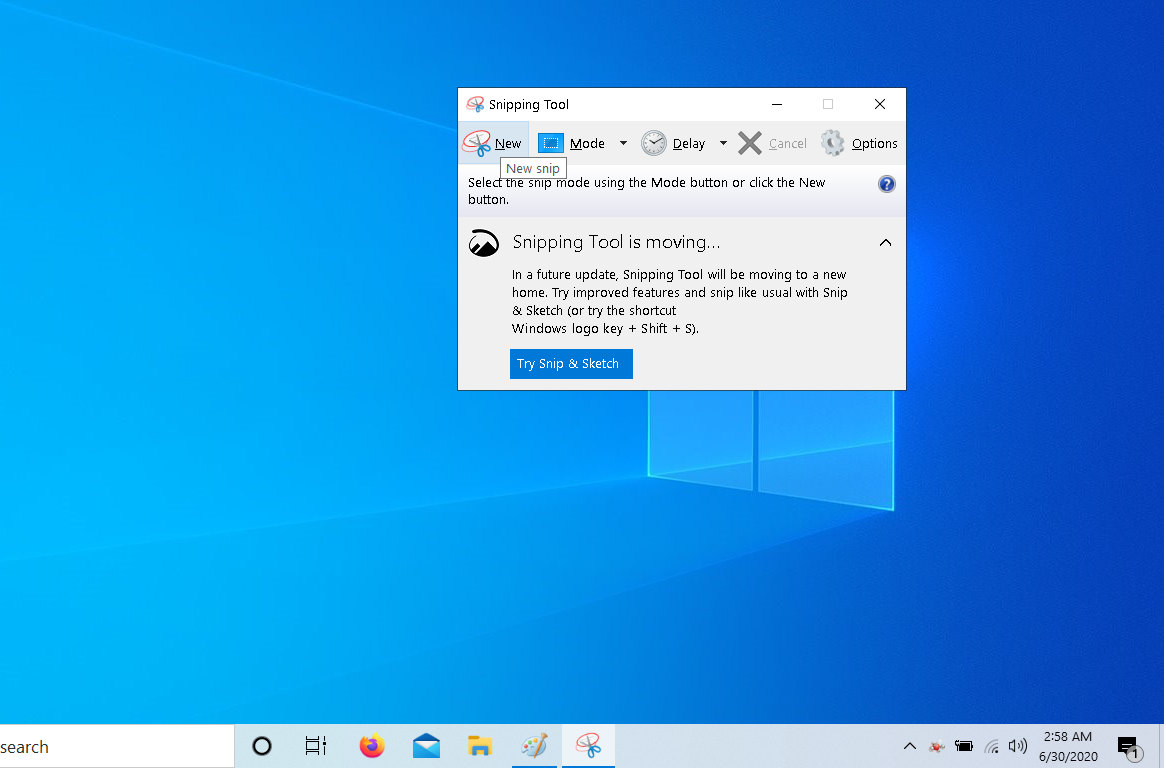
- Now press New and select the area you want to capture

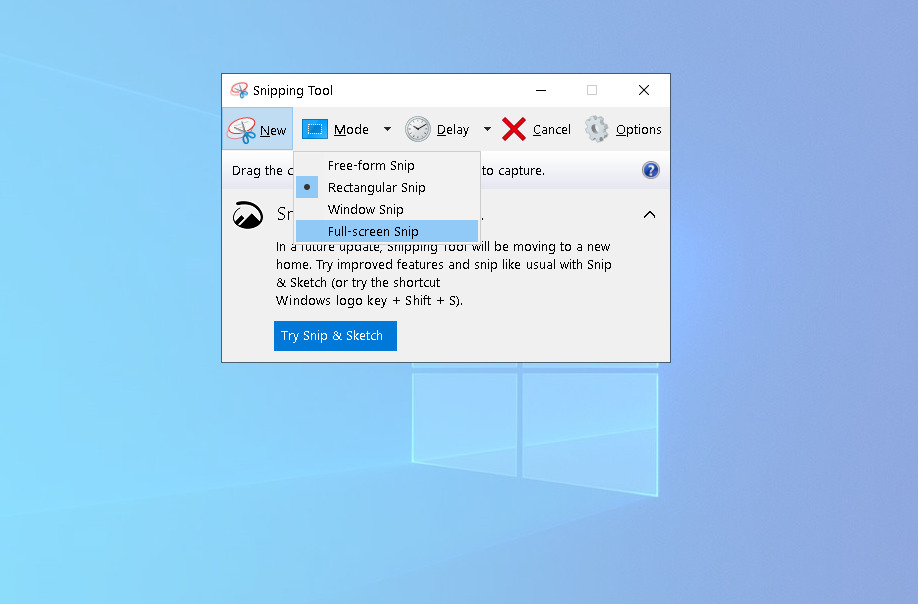
- if you want to take a screenshot of the full window or screen then from Mode select Full-screen Snip
- After that your saved screen shot will be appear, you can save it in PNG or JPG format on your computer disk
- You can also edit the screenshots before saving such as cropping the captured screen.
Take a Screen Shots on Windows 7 without snipping tool
- First open the screen which you want to capture, then press Print Screen Key on your keyboard. It is usually labeled as [PrtScr].
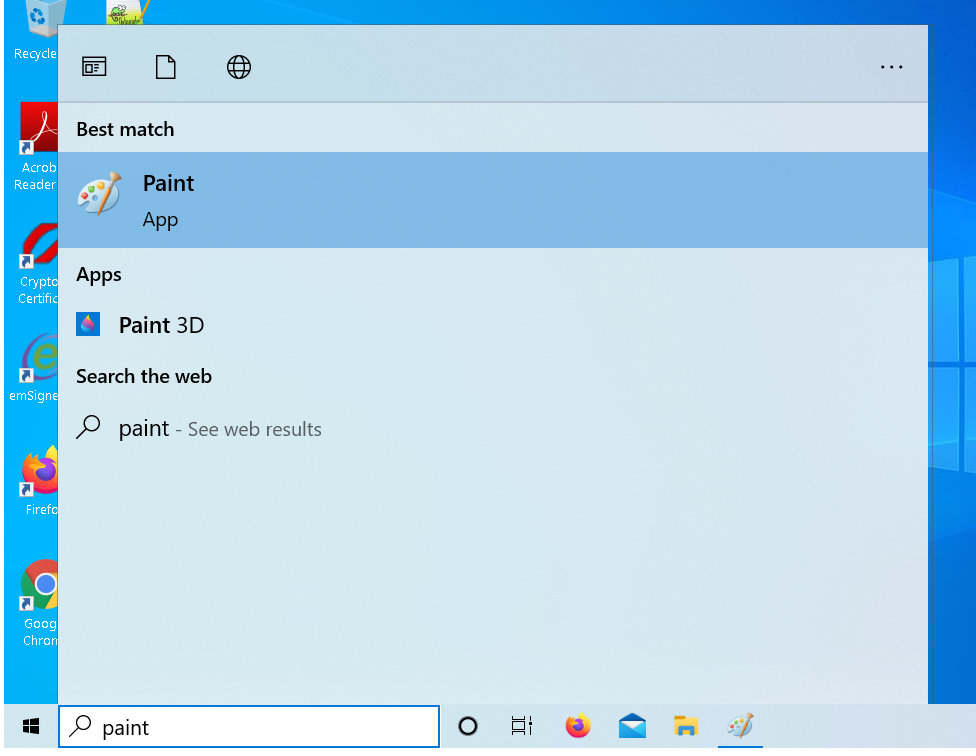
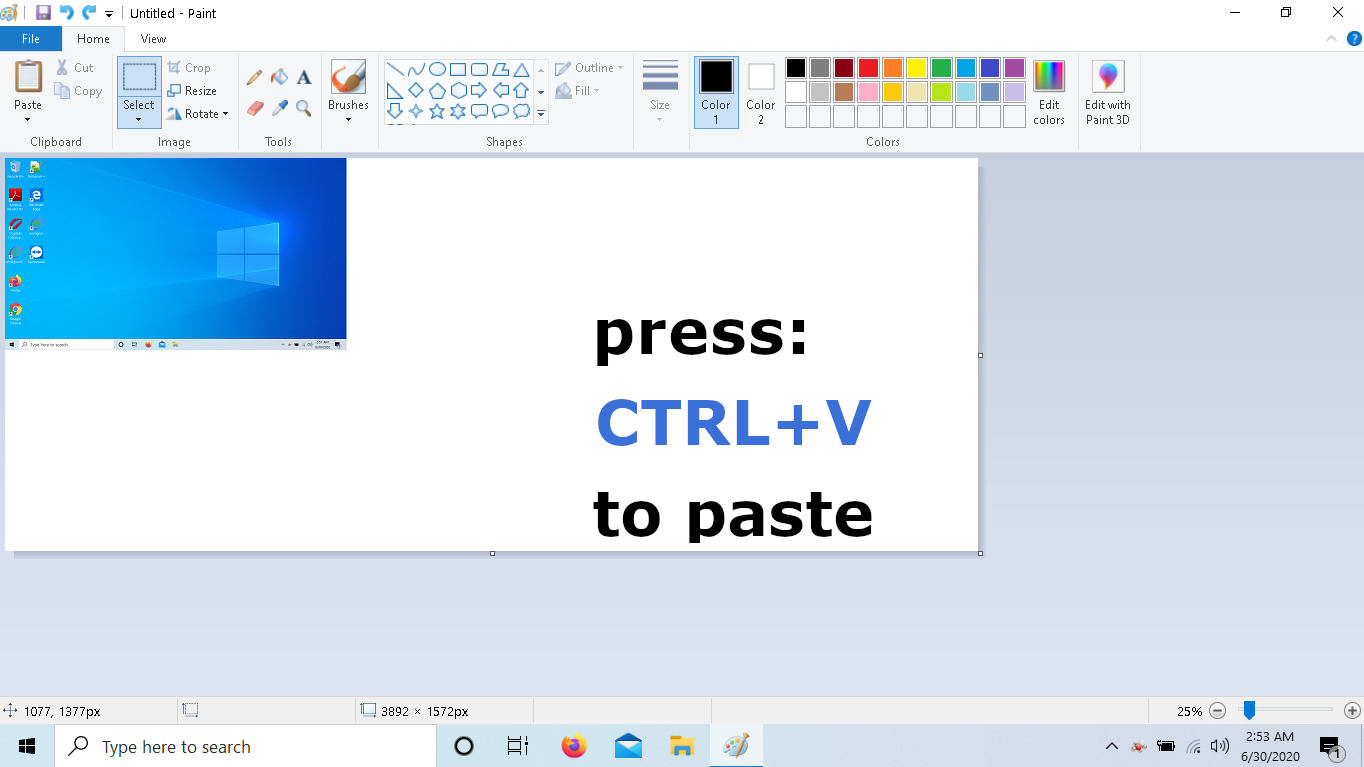
- Now open image editing program, like Paint.
- Now press CTRL + V keys or paste the copied.
- Now adjust the image size according to your desire, crop and Edit the screen shot.
- Go to the File MENU and choose save as tab.
- Navigate to the folder where you want to same the screen short.
- Now type the File Name and choose the format,such as jpeg, PNG, GIF etc., that’s it.

Note: If you want to capture only active window press ALT KEY with PRINT Screen Key.
This tutorial on how to take screenshot on Windows will work on all Samsung, hp, Dell, Sony Vaio, Lenovo, Xiaomi, Micromax, Asus, Acer, Toshiba, MSI, Clevo, Digital Storm, Doel, Lg Gram, Origin PC and all other computers and laptops.